How to create a blog post that attracts the most traffic
What is a blog post?
A blog post is a single article posted on a blog, which serves as a publishing platform for written content. A blog can exist as a separate website or as a component of another website.
Blogs can be used for a variety of things. It's a terrific strategy to position yourself as an expert in your field. It can also be a powerful tool for increasing website traffic and spreading knowledge about the subjects you're enthusiastic about. A blog is also the ideal platform for showcasing your writing.
A blog post can come in a variety of formats:
- Review
- News
- How-to
- Interview
- Explainer
How to create a great blog post
1. Brainstorm a topic
Once your blog is operational, you must decide what to write about in your first article. Ask yourself: what topics do you enjoy writing about both readily and passionately? If your blog is affiliated with your business, come up with ideas for blog entries that will benefit your target audience while also advancing your brand.
Let's imagine, for illustration, that you own a dog-walking company. Consider the topics that would interest your clients—the titles they would click on, read, and preferably share with others. You may think of several different topics:
- Selecting an ice melt that is pet-friendly for your walkway this winter
- How many calories does my dog typically burn while walking?
- Are pack hikes secure? How many dogs can one handler handle at once?
- How to quickly accustom your dog to a new harness
Examining the type of content others in your business are producing is another great method to think of things to discuss on your blog. That doesn't imply you should copy their ideas or work verbatim; instead, look for ways to draw inspiration from rival bloggers' blog postings and approach related subjects in your own way.
In Tapita, you can create your blog posts under Blog Pages menu. Click Add New and you can select from many ready-made blog templates, or you can start from scratch with a blank page.
2. Create an outline
Create an outline once you've chosen the topic for your first blog article. List the main ideas you want to cover in your post along with your working title. It is likely that these main points will be divided into various parts, each with a heading and subheaders.
A simple method for creating an outline for your blog post is to use an essay's format as a guide. The opening paragraph of your blog article is followed by the body paragraphs, which are subsequently the conclusion.
Even better, you don't have to start from scratch while creating the outline. If you spend enough time online, you'll notice that the structures of most blog entries are remarkably similar. Therefore, don't be reluctant to use templates. Tapita provides plenty of blog templates with different topics for different industries so you can take those as a starting point to write your blog post.
3. Write your draft
When you already have an outline, let's start writing your first draft.
In Tapita, use Headings element for your headings and Paragraph element for your blog body. You can start writing your own paragraph or use Taputa AI Content Generator to automatically write a paragraph for you.
An important factor to include into your post is the call-to-action.
A call-to-action is a short phrase (usually a button) that urges the reader to take action. This may be to read an article that is related to the one they are currently reading, leave a comment, buy something, sign up for your newsletter, etc. Common direct-response copywriting techniques for calls to action include making incredibly specific requests and evoking a sense of urgency.
Some common call-to-actions are: Shop Now, Purchase This Product, Subscribe Now, Leave a comment below, etc.
In Tapita, you can create a call-to-action using the Button element.
4. Edit and proofread your post
Take a close look at the draft and mark any places where your writing seems uncomfortable, choppy, or even overly wordy. By enhancing your awareness of problems in your work, editing tools like Grammarly, different writing books, and even your personal network of fellow writers can help you develop as an editor.
After you've finished editing yourself, ask someone else for their opinion. It's fantastic if you can show your draft to an editor. Otherwise, a friend or coworker is a perfect substitute. Include their suggestions where appropriate once they're finished. To create the best piece of work possible, build on their suggestions and viewpoints.
Keep gathering input and changing your draft until you are satisfied with the result.
5. Improve your post with relevant, captivating images
As your viewers go through your information, images help to break up the content and provide quick breaks. In explainer and how-to blog posts, they can also assist readers in visualizing the points you're making in your writing and even prevent errors by providing examples of what the finished product should seem as it is carried out step by step.
In Tapita, the Image element will help you create engaging images for your post.
6. Create an awesome title
One of the most crucial elements of your blog post is the headline. Whether or not someone chooses to click through and read depends on it. Therefore, take your time and make it compelling by polishing it.
Don't stop with your first headline. Try out a few and decide which one looks the best.
In Tapita, you can edit your blog title by going to Page Settings > SEO > Meta Title.
Don't forget to add Meta Description as well! Remember you can ultilize Tapita AI content generator.
7. Publish your post
Congratulations! You've completed your awesome blog post. Now let's publish it to live site and start getting visitors.
But first let's edit your post URL. Go to Page Settings > General > URL path. Enter the URL that you want for your page here. This will be the link your visitors visit to read the post.
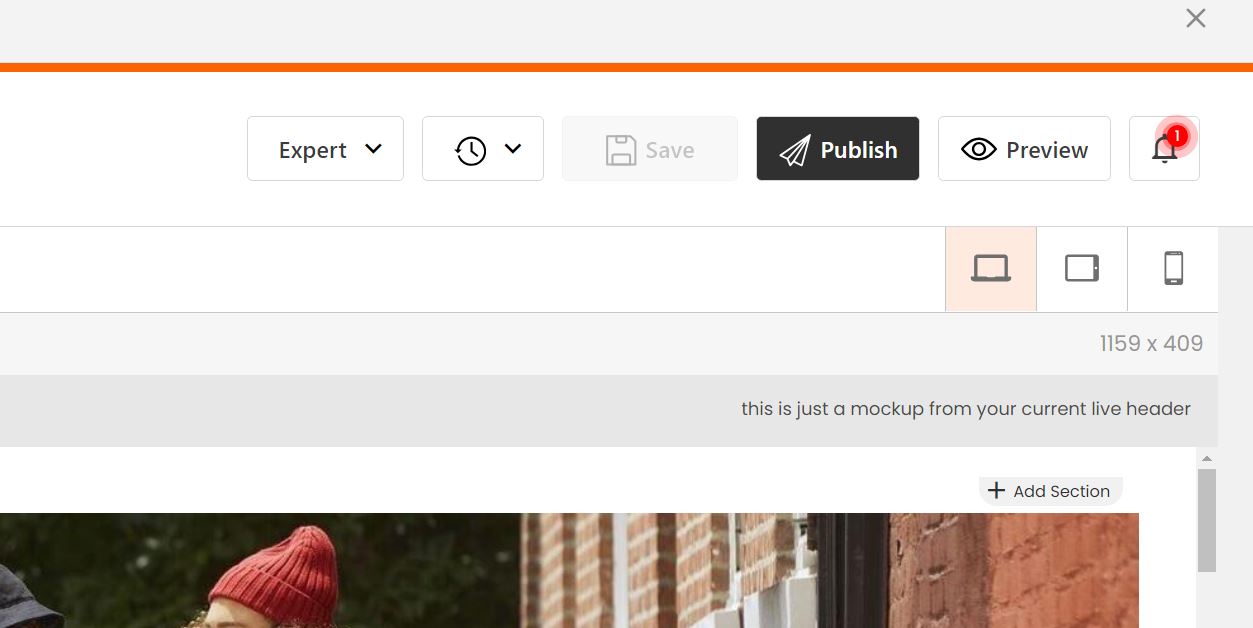
To publish your post, simply click Publish on the top right corner of Tapita builder. You can Preview your page first to make sure there is no layout errors.
If you don't see the post appear on your live site, wait 2-3 minutes and then refresh the page.
And that's it! Now you know how to create a great blog post that will atrract the most traffic. Let's create one right now with Tapita!
Related Articles
How to create Table of Content for a blog post?
Step 1: Design a Table of Content include: H2 H3 H4 H5 H6 ... Add element party width > add headings (H2, H3...) are the same with headings of your blog post. En Step 2: Scroll down to get Item ID at Gerenal > Advanced: Step 3: then add this Item ID ...2. The Page Types you can create using Tapita
Tapita allows you to create pages of these types: Landing/Home pages Blog Pages Product pages (old version) Collection pages (old version) Let's explore each type! Landing pages Landing pages are the pages you see under Online Store > Pages section ...How to add the blog to Shopify blog posts section of the site after editing the blog page?
Please click setting and locate to General tab to choose your Target Blog in your website.Create a Shopify Section (old version)
In this article, you will learn how to create a Section that can be used in your Shopify pages using Shopify Theme Customizer. Like this: If your Shopify theme doesn't support adding sections (there is no "Add section" (+) button), then you cannot ...Create a Shopify Top Bars (old version)
In this article, you will learn how to create promotion or notification bars at the top of your pages using Tapita Top Bars. Like this: Step 1: Create a Top Bar in Tapita On Tapita left menu, click View more > Top Bars. Click Add New to create a new ...