How to Create a Fixed Bundle with G: Volume Discounts & Bundles
Before you start: Add the Fixed Bundle app block to your theme
- On the bundle page, click Add Block in the banner. This opens your theme editor.
- In the theme editor, make sure you are editing the Product page template.
- In the product information section, click Add block, then open the Apps tab.
- Select the Fixed Bundle block from G: Volume Discounts.
- Drag the blok to where you want the widget to appear, for example below the product description or the Add to cart button.
- Click Save in the theme editor.
Step 1: Choose the bundle type
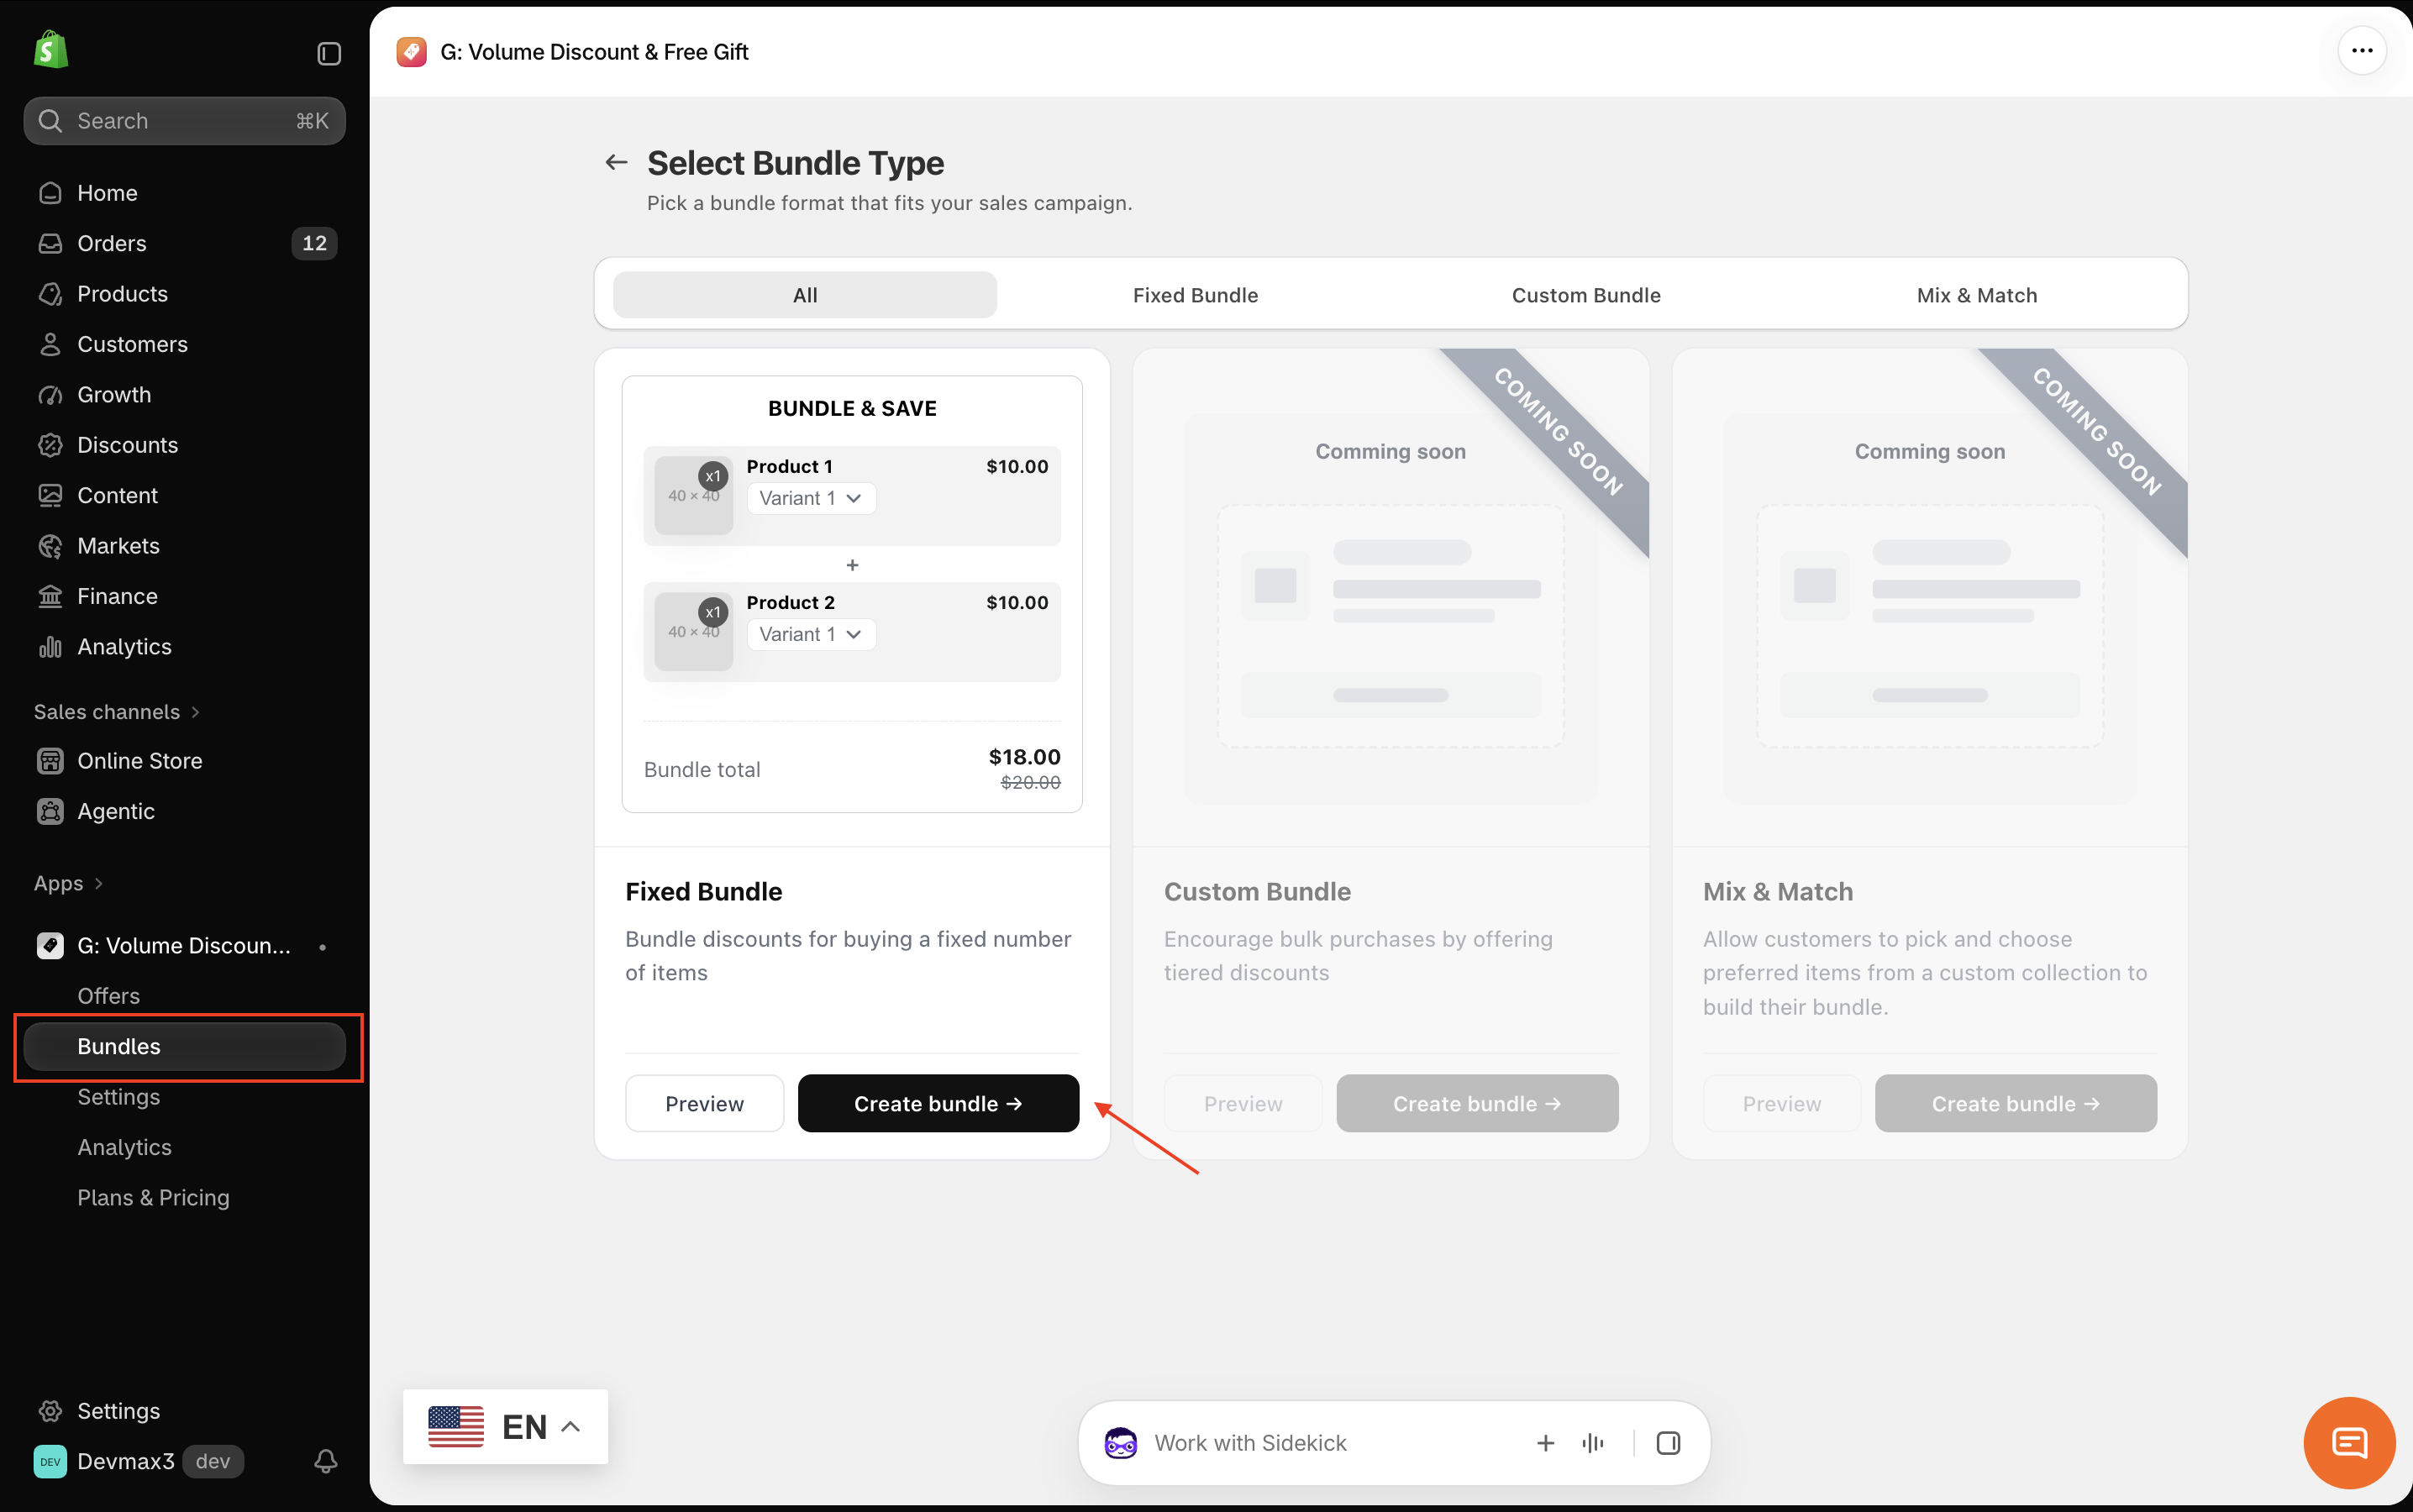
- In your Shopify admin, open G: Volume Discounts from the left menu.
- Go to Bundles and click to create a new offer.
- On the Select Bundle Type page, choose Fixed Bundle and click Create.
Step 2: Set up the basics
Bundle name (only visible to you): An internal name to help you find the bundle later. Customers will not see it.
Priority: If a product belongs to more than one bundle, the bundle with the higher priority value is applied first.
Status: Set the bundle to Active when you want it to run.
Step 3: Add bundle products
- Search bar: Type the name of the product that you want to add into the bundle.
- Search products: Use the Search by dropdown to search by All, Product title, Product ID, Barcode, SKU, Variant ID, or Variant title.
- Add filter: Narrow the list by Categories, Collection, Status, Types, Tags, or Vendors.
After adding, each product appears in a list where you can:
- Drag the handle on the left to change the display order.
- Use - / + to set the quantity of that product in the bundle.
- Click the trash icon to remove it.
- Click + Add products at any time to add more.
Step 4: Set the discount
Turn on the Discount toggle, then choose a type and enter a value:
- Fixed Discount: Takes a set amount off the bundle total
- Percentage Discount: Takes a percentage off the bundle total
- Fixed Product Price: Sets the bundle to a specific price
Once you enter a value, a summary line shows the result, for example: Customers pay $73.99 (was $82.21). Use it to double-check your pricing.
Step 5: Advanced settings
Price display
Price rounding: Tidy up the final bundle price. Options: None, Round to .99, .95, .90, .x9, .x0, or .00.
Type compare (if available): Controls which price is shown as the crossed-out comparison price:
- Show compare price
- Show product price (current selling price)
- Hidden
- Product price: $80 — the product’s current selling price.
- Compare-at price: $100 — the reference price set in your Shopify product admin.
- Bundle price: $60 — the price after the app’s bundle discount is applied.
- Show compare price:
$100$60 - Show product price (current selling price):
$80$60 - Hidden: $60
Schedule
By default, the bundle is available immediately with no end date. To run it for a limited time:
- Turn on the Schedule toggle.
- Choose a Start date and Start time.
- To end the bundle automatically, tick Set end date, then choose an End date and End time.
The time zone is shown next to each time field.
Step 6: Preview and customize the widget
The Preview panel on the right shows how the bundle widget will look on your product pages. Use the phone and desktop icons to switch between mobile and desktop views.
To change how the widget looks, click Customize in the Preview panel. The Bundle content window opens with three tabs.
Widget tab
- Footer: The label next to the total price, for example "Bundle total".
- Add To Cart: The text on the button.
- Background: Choose how the widget background looks:
- None: No background. The widget shows your page background.
- Color: A single solid color. You can adjust the transparent by scrolling the bar.
- Gradient: A background that blends from one color into another. Choose 2 colors you want in Color 1 và Color 2. Scroll the Angle bar to change the gradient angle.
- Pattern: A repeating pattern as the background. Choose between prepared patterns.
- Style tab:
- Width: Thickness of the border line.
- Radius: How rounded the corners are. Increase it for softer corners.
- Style: Choose the line type: None, Solid, Dashed, Dotted, Double, Groove, Ridge, Inset, or Outset. Choose None to remove the border.
- Color tab: Pick the border color (see "Changing a color" below).
Click any item (Widget title, Widget subtitle, Price, Compare price, Footer, Footer link) to open a pop-up where you can edit its font:
- Text style: Bold, Italic, or Underline. You can combine them.
- Text alignment: Left, Center, or Right.
- Font family: Uses your Theme Font by default. Click to choose a different font.
- Font size: Drag the slider to make the text larger or smaller.
Products tab
- Layout: Padding, spacing, image size, and image border.
- Colors: Background, border, title, sale price, and compare price.
- Typography: Font and size for product title, product price, and product compare price.
Translation tab
- Choose a Language from the languages published in your store, then edit the widget text for that language.
- You can add translation for Widget Title, Widget Subtitle, Footer text, Add to cart button
- Click Refresh if you have recently added a new language to your store.
- To manage or add store languages, you need to configure in Shopify admin > Settings > Languages.
Step 7: Save
When everything looks right, click Save in the bar at the top of the page. Click Discard if you want to undo your unsaved changes.
--
Now you know how to create and customize a Fixed Bundle with G: Volume Discounts. Set up your bundle, customize the widget, and start offering bundled products at a discounted price.
If you have any questions, feel free to contact our support team via support@tapita.io